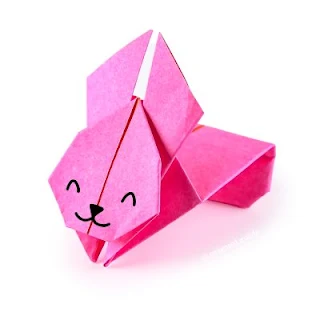
How to Make Simple Origami Easy: A Beginner's Guide
Origami, the art of paper folding, has been a cherished practice for centuries. Whether you're looking to impress friends, find a calming hobby, or simply have a bit of fun, learning how to make simple origami can be both easy and rewarding. In this blog post, we will explore the basics of origami, share some easy projects for beginners, and provide tips to help you master this delightful art.
 |
| (origami art,pic source google) |
Why Origami?
Origami isn't just about folding paper; it's a form of creative expression that can enhance your cognitive skills, improve your concentration, and even reduce stress. Additionally, it's an inexpensive hobby that requires little more than a sheet of paper and a bit of imagination.
Getting Started with Origami
What You Need
- Paper: While any paper can work, origami paper (often square and lightweight) is ideal. It's readily available in various colors and patterns.
- Flat Surface: A clean, flat surface will help you make precise folds.
- Patience: Like any new skill, origami requires practice. Don't rush the process!
Basic Origami Folds
Before diving into specific projects, it’s essential to familiarize yourself with some basic folds that will be used repeatedly in origami:
- Valley Fold: Fold the paper towards you.
- Mountain Fold: Fold the paper away from you.
- Reverse Fold: Fold a section of the paper in the opposite direction.
- Squash Fold: Make a valley fold and then flatten the paper down.
- Petal Fold: Open a flap of paper to create a petal shape.
Easy Origami Projects for Beginners
Now that you've got the basics down, let’s explore some simple origami projects that are perfect for beginners:
1. Origami Paper Crane
The paper crane is an iconic origami figure, symbolizing peace and hope.
Steps:
- Start with a square piece of paper.
- Fold it in half diagonally to form a triangle, then unfold it back to a square. Next, fold the paper in half diagonally in the opposite direction, creating another triangle, and again unfold it. This will give you creases that intersect at the center, forming an "X" shape. With the paper still in the square orientation, fold the top triangle down to the center point where the creases meet, then repeat this step for the bottom triangle, tucking it into the center fold. From here, you will create the wings by folding the outer edges towards the center line, and finally, pull the two flaps outward to form the crane's wings and gently pull up the neck and tail to complete your origami crane.

